How To Print Prisma App Photos From Canvas Champ

This new app launched on Apple Store and Google Play Store, gaining immense attention for its creative and unique filters that you won’t find on any other application.
Since its debut, the app has become a platform that turns regular photos into artsy pieces with impressive textures and patterns. By making use of Prisma, you can turn any scenery, selfie, or portrait into a spectacular work-of-art.
What makes Prisma standout from all other picture editing apps like Picasa and Instagram is that it is quite easy to use and has a very clean interface.
The app contains a whopping 33 filters that are all extremely crafty, fun, and artsy. And if you want to decorate your walls with artistic photographs, you can make use of Prisma to print photos. Let’s take look at the step-by-step process of printing Prisma photos below:
- 1. Download the App on Your Device
Prisma is available on the Google Play Store as well as the iOS App Store. So, search for it and download it on your mobile completely free of cost.

- 2. Choose a Photo to Edit
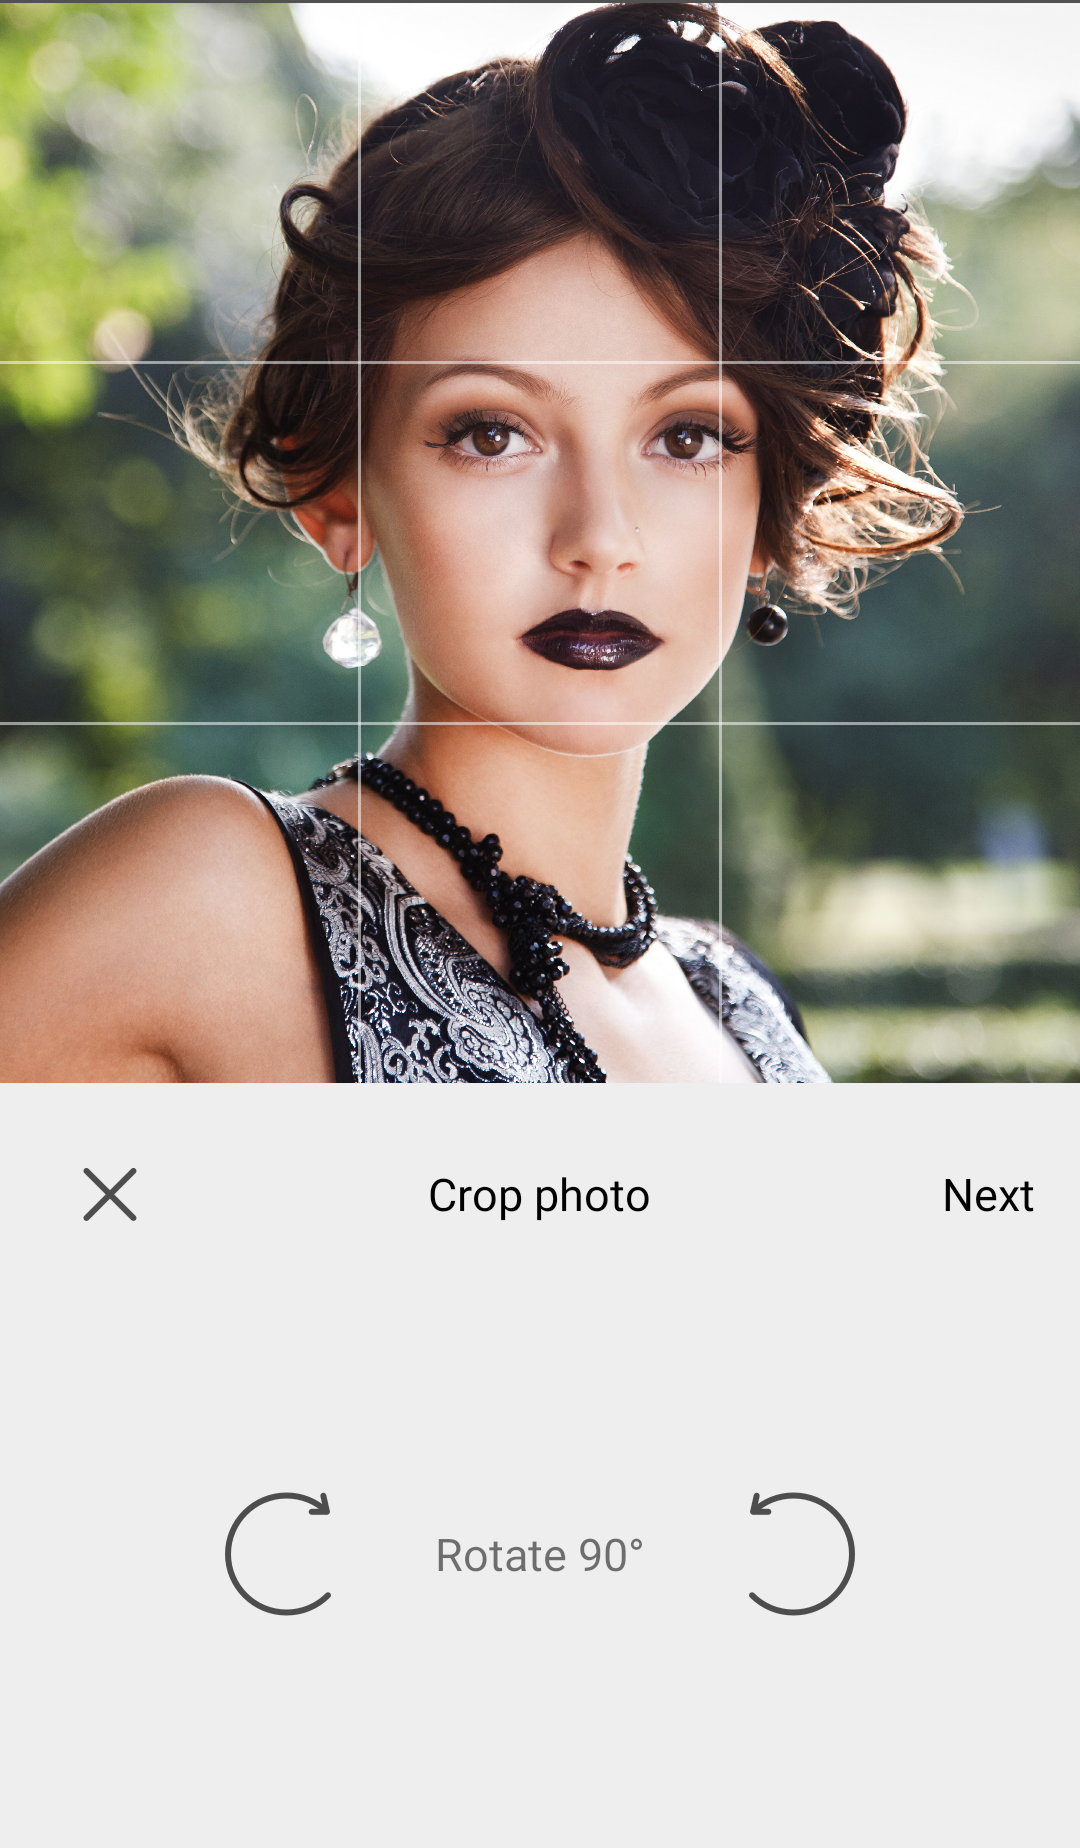
Now that the app is up and running on your mobile device, it is time to begin the fun. You can choose a picture from your gallery or capture a new picture to start making use of the app’s amazing filters. If the photo you are using needs to be rotated, make use of Prisma’s rotation feature to do so.

- 3. Pick a Fun Filter
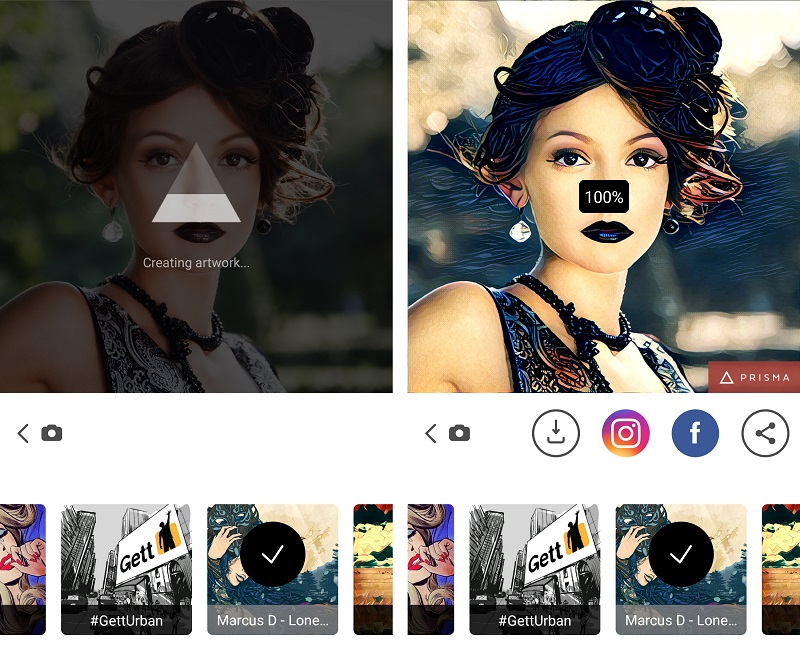
Once you have selected the photo, it is time to put filters on it. You will have 33 different filters to choose from. All the filters are different from one another and help create a compelling image.
The intensity of the filters can be changed by sliding your finger to the right or left. When you slide your finger to the left, the intensity decreases and when you slide your finger to the right, the intensity increases. You can also see the percentage of intensity on the picture on your screen.

- 4. Save the Changes
When you are done playing with the filters and have finally got the right one, it is time to save the picture to your device’s camera roll. You can save the image by simply tapping onto the download button placed besides the Facebook icon.

- 5. Remove the Watermark
Before you get too excited to get your picture printed, make sure you get rid of the Prisma watermark on your picture. You can get rid of the watermark by tapping on the Settings icon in the top right corner of the screen and deselecting “enable watermarks”. Once you disable watermarks, your picture will be ready for print.

- 6. Head To Canvas Champ
Now head over to CanvasChamp and print your Prisma photo by choosing our printing option.

- 7. Select Canvas Prints
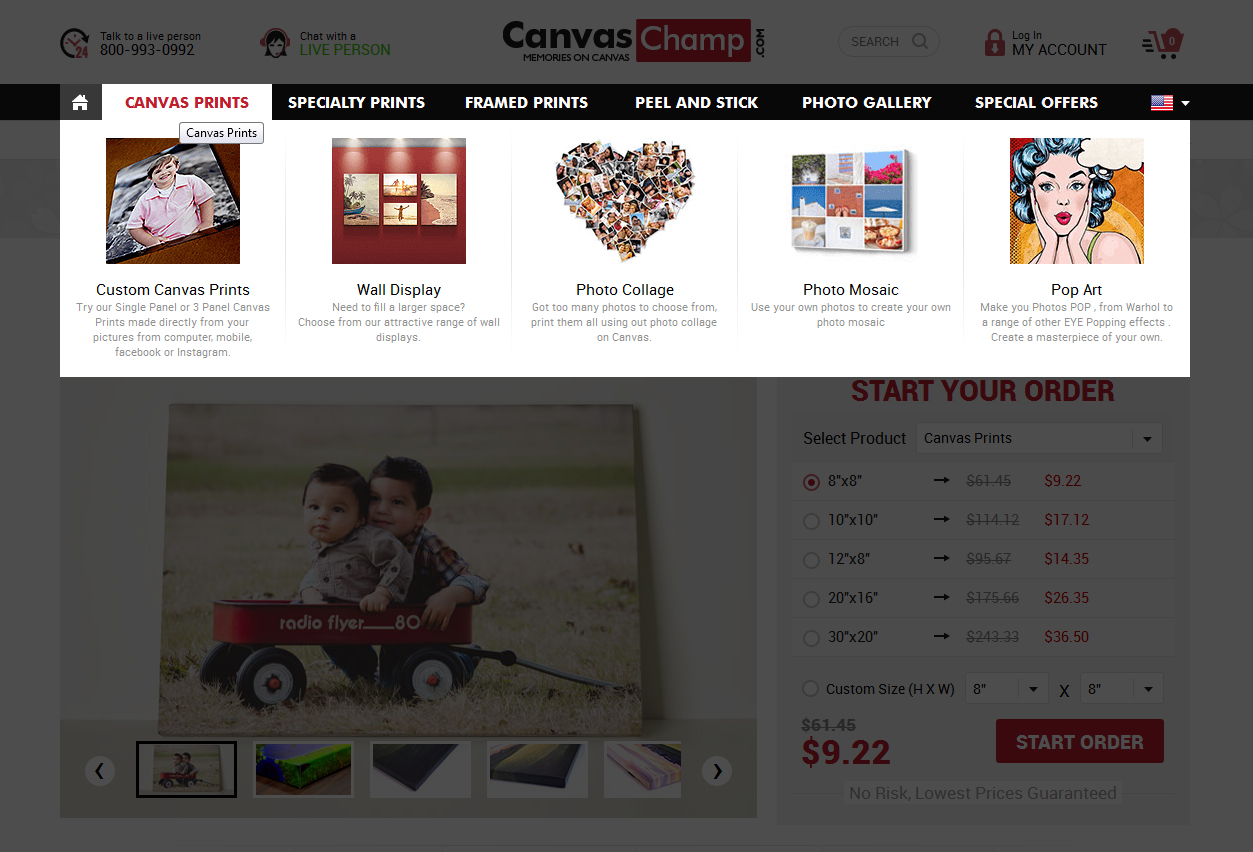
When you are on the homepage of CanvasChamp, you will find the option “Canvas Print” in the top left corner of the page. Hover over this option and choose ‘Custom Canvas Prints” from the dropdown menu.

- 8. Select the Size
You will now see “Start Your Order” written in big red bold letters. Below this header you will see a number of size options for the canvas. Choose the size that you want your picture to be printed on and click “Start Order”.

- 9. Upload Your Prisma Photo
Now you will be directed to another tab where you will see a red button with “Upload Your Image” written over it. Click this button and upload your Prisma photo from your computer or device’s gallery and click “Next”.

- 10. Choose a Layout
You will need to choose a layout and size for your canvas from the options given in the tab. Click “Next” to proceed.

- 11. Choose a Style
This tab will have options for hardware and style of your canvas that you can choose. You can also select your desired finishing and frame style.

- 12. Select image Enhancement
Now you will see a new tab with several options for enhancing your uploaded photo including lamination styles and custom text. After making the changes, you will find a “Save Order & Comment” section where you will need to fill out necessary details about your order.

- 13. Add to Cart
Click on “Add to Cart” option once you have finalized everything in your order. After clicking this button, you will see a small pop-up that will give you two option; Edit or Approve to Print. Once you approve the picture for printing, complete your order and move to check-out.

CanvasChamp Makes It Easy For You To Decorate Your Walls With Gorgeous Customized Prisma Photos!
Why Canvas Prints are Best for Prisma Artwork?
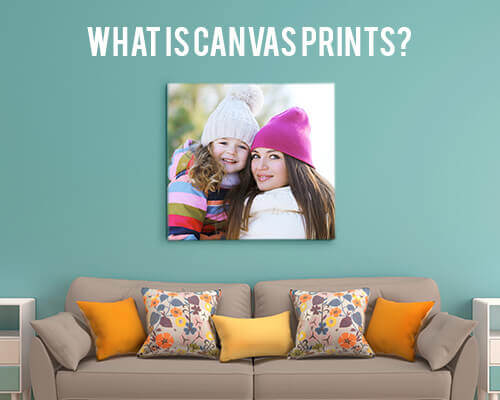
Canvas prints transform digital Prisma-edited photographs into gallery-worthy presentations. CanvasChamp’s best canvas printing enhances Prisma's artistic filters, creating painting qualities that make these photographs unique. Our goal is to add up to Prisma's filters' subtle intricacies and brushstrokes better than picture paper.
CanvasChamp’s excellent weave offers a subtle texture that interacts nicely with light, giving your Prisma artwork a three-dimensional look that flat prints cannot match. This textural aspect works well with impressionist, oil painting, big canvas art, and watercolor filters. Moreover, canvas prints last longer than photo prints. We employ high-quality inks that last 75 years at CanvasChamp, keeping your Prisma creations vivid for decades. Paper prints can bend, crease, or distort over time, but stretched canvas for painting prevents this.


